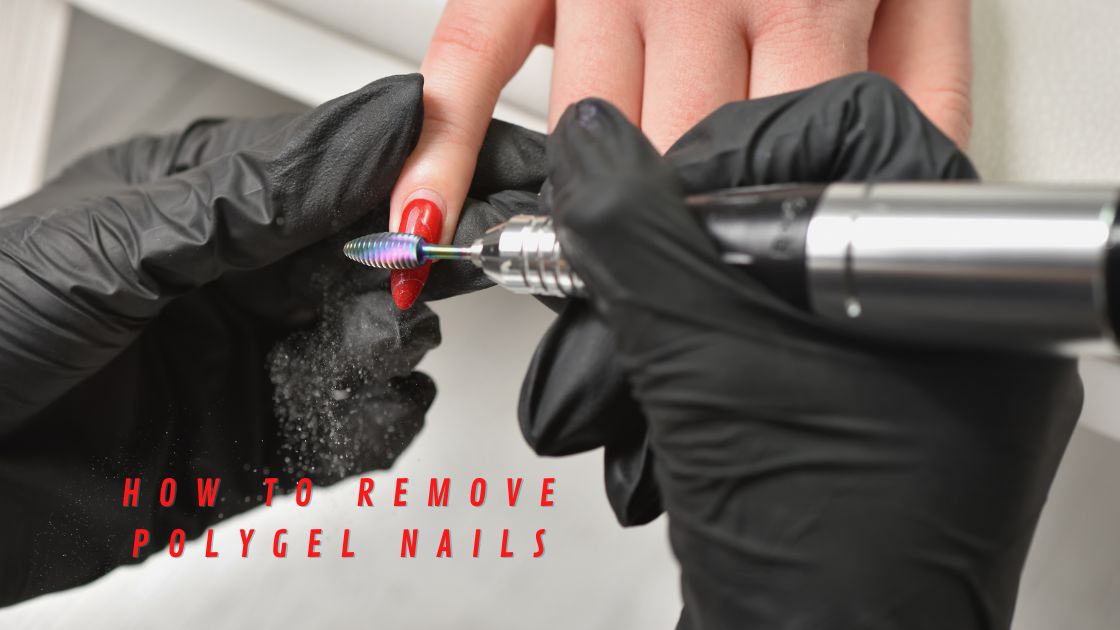
When diving into the world of perfect manicures and nail art, polygel nails are top of the current trends. These give long-lasting results and are easy to apply, providing salon-quality nails. Being into polygel nails, then also means knowing exactly how to remove polygel nails.
If you are anything like us and obsessed about the perfect mani, polygel is easy to apply and is simply great for those who make their nails an essential part of their overall looks. Keep in mind that styled nails can not only accentuate your look but will also make you feel like the queen you are, giving you the boost you need.
As you can tell, there are tons of reasons why those who have tried polygel nails swore not to go back; but like all types of polishes, adhesive nails, nail art, or nail enhancements, it’s absolutely key that you know how to get rid of them the right way. By learning the exact steps, methods, and tools you need for polygel nail removal, you’ll be doing your nails and yourself a huge favor.
Pulling off how to remove polygel nails doesn’t have to be a scary process, and if you are considering polygel nails for your next manicure, you’ll want to know how to remove polygel nails. Read along and find the exact steps, tips, and everything you need to safely remove polygel nails.
Polygel Nails Explained
Polygel is a nail enhancement best described as a hybrid formula that combines the durability of acrylic nails and the elasticity application of gel nails. Though, the process and materials used in the manicure are quite different.
Polygel, which is sold in a tube much like toothpaste, is a mixture of acrylic powder and clear gel. Polygel also has a putty-like consistency and is extremely easy to apply and shape.
Polygel Vs. Hard Gel Nails
These are not the same, but they are very similar. Polygel is a hybrid with a much thicker consistency and can be easier to control than builder gel which can flood your cuticles if you let it sit for too long.
Polygel is so sticky that you need Slip Solution to manipulate it.
Advantages of Polygel Nails Removal
- Protect nail from damage: When we remove our nail polish or adhesive nails improperly, we can strip the nail and cause damage and tearing that can make the nail brittle and require long-term healing.
- Prevent infections and inflammations: The damage caused by the improper removal of adhesive nails and gel polish can lead to microabrasions and cuts. Proper tools and methods for nail polish remover can help you to avoid any inflammation or nail bed infections.
- Keep your nails feeling smooth: It’s always a good idea to give your nails the chance to breathe before applying the next manicure, but removing your nail polish properly can help to ensure that the next manicure goes on smoothly.
- Preserve your next manicure: When we scrape at our polish or remove it with improper tools, we can scratch and damage the nail plate’s surface, making it difficult to get that perfect sheen the next time. Extra time will ensure that every manicure looks as good as the first.
How To Remove Polygel Nails: Acetone Removal
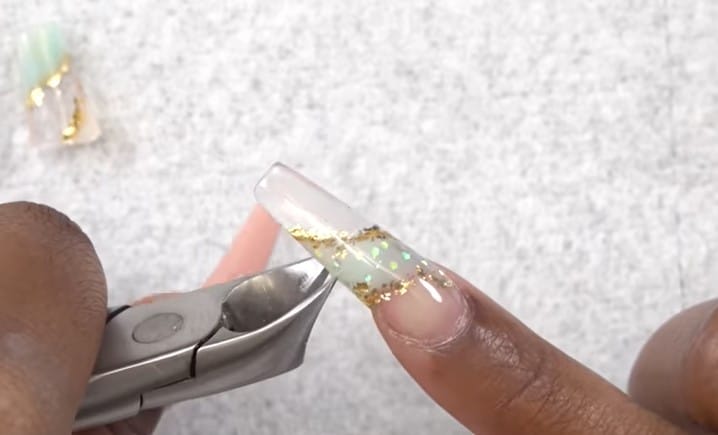
Step 1 Cut and file your nails
To start, cut your nails down to avoid cracking or damage at the tips. Then begin filing off the top layer of the polygel, taking care not to file too deep.
No products found.
We recommend using KISS Professional Artificial Nail Tip Clipper. It is stainless steel, hand-sharpened, and you expect a precision cut every time.
An ergonomic, no-slip handle also has a durable spring for lasting use. Hand-sharpened stainless steel blades cut thick nails precisely and smoothly with no discomfort.
Premium stainless steel with a lifetime guarantee. Suitable for use on various nail types, fake and real nails, including men, women, and babies.
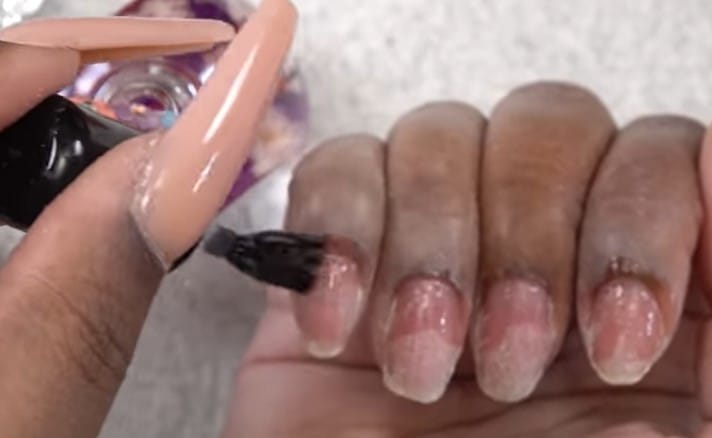
Step 2 Soak nails in acetone
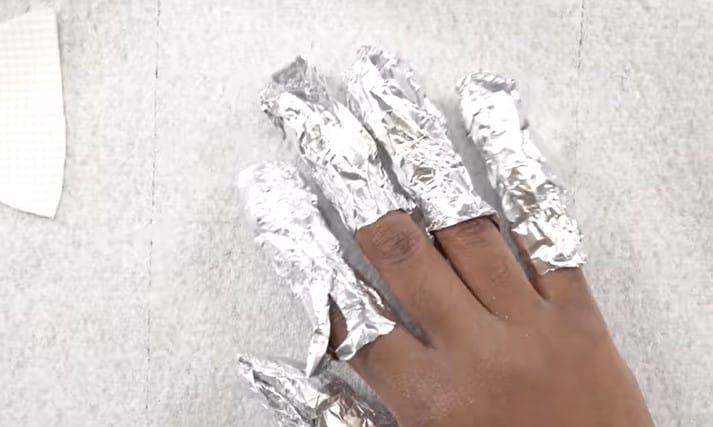
Soak your cotton balls in acetone and apply them to the nail’s surface. Wrap tightly with nail clips or foil and let it sit for 10 minutes.
No products found.
You can use Mia Secret Nail Polish Remover. This pure acetone nail polish remover works gently on your nails and nourishes the nail surface.
The 100% acetone nail polish remover is perfectly suitable for cleaning your nails from all types of decorative layers. Use it to remove nail polish, glitter polish, gel polish, shellac polish, nail art, sculptured nails, artificial nails, etc.
Quick and Effective: The quick formula of this nail polish remover works effectively on your nails, removing every tiny bit. The acetone remover removes even the toughest polish without leaving any oily residue behind.
Step 3 Remove what’s left of the polygel
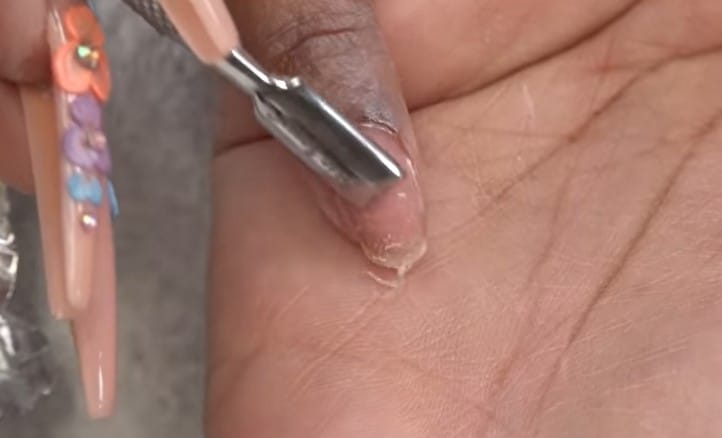
Take off the foil or clips and use a clean cuticle pusher to remove the rest of the polygel from the nail’s surface. File down the surface if necessary.
No products found.
We like Cuticle Pusher and Nail Cleaner by Revlon. The Revlon Stainless Steel Nail Groomer lets you achieve salon-quality results at home.
You can clean under the nails easily with the pointed end and use the scooped end to gently push back cuticles.
Conveniently manage your cuticles and keep your nails looking their cleanest. The flat edge gently pushes back cuticles, and the unique scoop easily cleans under nails.
Step 4 Apply lotion and cuticle oil
Acetone can be corrosive, which is why it’s such an effective tool for removing polygel, but you want to ensure you’re protecting your skin and nails. Lotion and cuticle oil will help to rehydrate the nail plate and the skin around it.
No products found.
We recommend using OPI Nail and Cuticle Oil. The ultra-nourishing formula helps protect, replenish and strengthen cuticles. You will experience softer, smoother, and healthier cuticles with one week of daily use.
Protects and nourishes the skin while helping to stop the signs of aging before they start. For best results, gently massage the nail cuticle twice daily.
This ultra-nourishing nail & cuticle oil helps replenish, strengthen and protect the skin around your nails. A mani essential for your nail kit.
How To Remove Polygel Nails: E-File
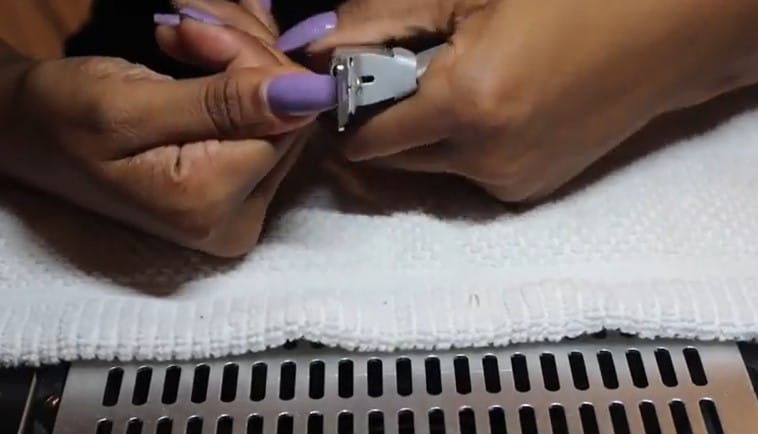
Step 1 Cut your nails
Cut your nail to a healthy length.
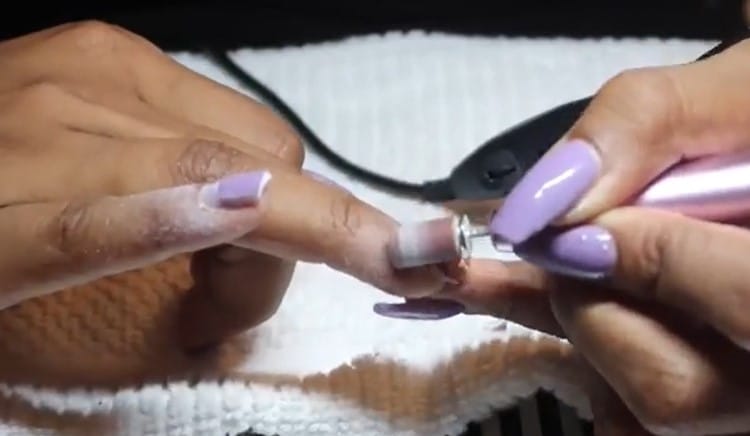
Step 2 Begin the filing process
Use a low and gentle speed with the electric file and stop once you reach the top of the natural nail or the layer of polygel has gotten thin.
No products found.
We recommend using Beurer MP64 Nail Drill Kit. The cordless electric nail drill is designed to help you achieve and maintain salon-quality nails at home by shaping, filing, and buffing for flawless nails wherever you go.
The nail set comes with ten attachments made of sapphire, felt, or sandpaper to get the nails you want, while the included dust shield keeps your manicure and pedicure hygienic and mess-free.
The manicure machine is cordless and perfect for travel; practical storage case is included to keep all the accessories organized.
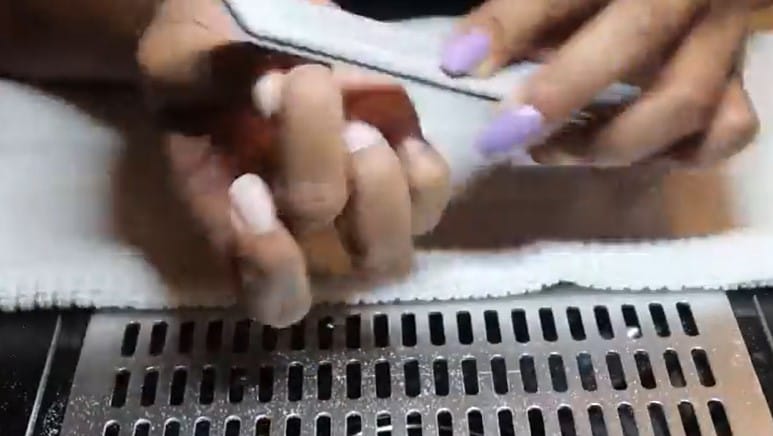
Step 3 Remove polygel remaining
Use a gentle file or buffer to remove any remaining polygel off the surface of the nail.
Step 4 Apply cuticle oil
Apply cuticle oil and lotion to keep the nail healthy and the skin well-moisturized.
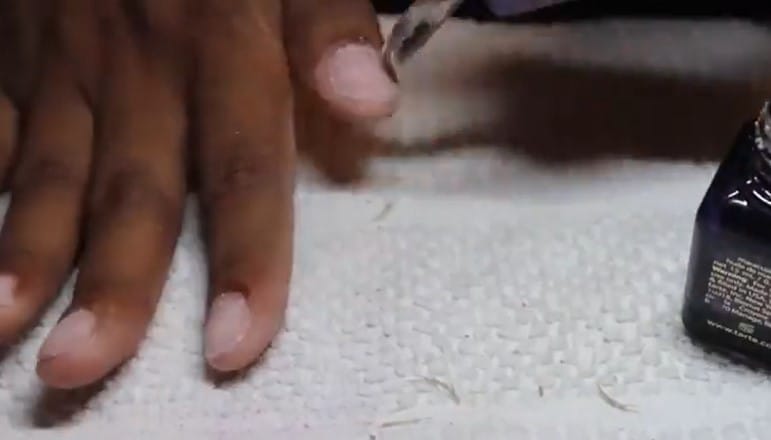
How To Remove Polygel Nails: Nail File
Step 1 Trim nails
Trim the nail carefully, removing any soft or brittle extra length.
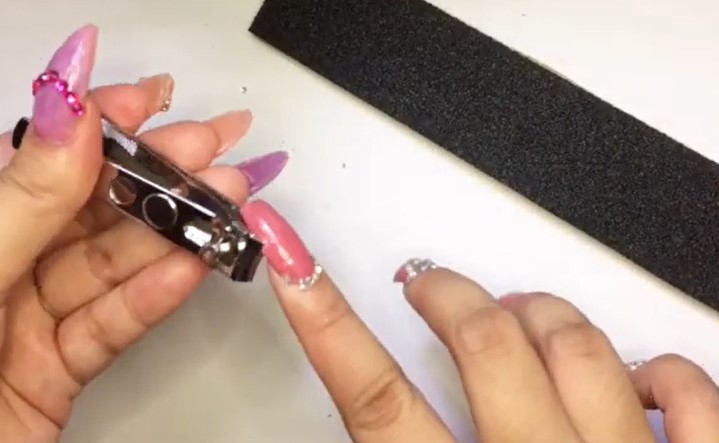
Step 2 Gently file the surface of the nail
Use a file labeled with a 100 or 120 grit surface and gently and carefully begin removing the polygel from the nail’s surface with gentle filing motions. Take care not to file once you reach the nail’s natural surface.
No products found.
Try using Nail Buffer by Revlon, Shape ‘N’ Buff Nail File & Buffer. The fabric gently smoothes the surface of nails and imparts a high shine that keeps nails looking healthy.
This all-in-one nail buffer block shapes, smooths, buffs, and shines your nails for a perfect manicure. Each section is numbered to provide you with the proper steps for a polished appearance. Great for both women and men.
Use to shape, smooth, buff, and shine the surface of the nails with the four numbered steps on the file.
Step 3 Use a nail buffer
Use a gentler file or a nail buffer to remove the remaining polygel polish on the nail’s surface.
Step 4 Moisturize
Apply lotion and cuticle oil to ensure full health and moisture on the nail and nail bed.
Common Question About How To Remove Polygel Nails
Why is it important to know how to remove polygel nails?
Proper removal will protect the nails, prevent infection, and keep the surface of the nails smooth and healthy.
Can you soak off Polygel with acetone?
Most types of nails, like gels and acrylics, can be removed with an acetone soak, and polygel nails are no different. This process only takes a few minutes and can effectively remove your polygel nails.
Is it hard to learn how to remove polygel nails?
PolyGel is not a soak-off gel, so the best way to remove it is by filing it off. Because it is a soft gel, learning to remove polygel nails is very easy to file off using an e-file or by hand, but when removing, it is not necessary to file off the entire product.
Does Polygel ruin your nails?
Is Polygel bad for your nails? Polygel is not inherently bad for your nails. Polygel should pose no harm to nails as long as it is removed properly. Still, it’s good to take a break from Polygel, or any polish or nail enhancement, for that matter, from time to time.
Can you remove Polygel without a drill?
It can damage your natural nails if you repeatedly remove your manicure with acetone or a nail drill. It is now possible to remove your Polygel Nails without acetone or a nail drill using oil, soap, and water.
How thick should Polygel nails be?
A salon wearable nail should be the thickness of a credit card at the free edge (approximately . 03 inches). Competition nails should be the thickness of a business card at the free edge.
Is Polygel or dip powder better?
Dip powder nails are just as strong as acrylic and Poly gel nails. Unlike Poly gel, using Dip Powder requires little to no experience, and you will achieve salon-quality results from the comfort of your home. There is no odor at all, and totally chemical-free.
Is polygel healthier than acrylic?
Since no chemicals exist in polygel solution, nails are not weakened by the heavy compounds we find in acrylic nail formula. The nails are also less accessible to damage because the nail is more flexible under the formula.
Removal of polygel is much less damaging than acrylic removal because polish can be buffed.
Are Polygel nails stronger than acrylic?
Like acrylic, polygel can sculpt, fill in, or extend nails. However, there are differences, including the fact that polygel is significantly lighter than acrylic. It’s also different from a dip manicure, equivalent to granulated acrylic.

