
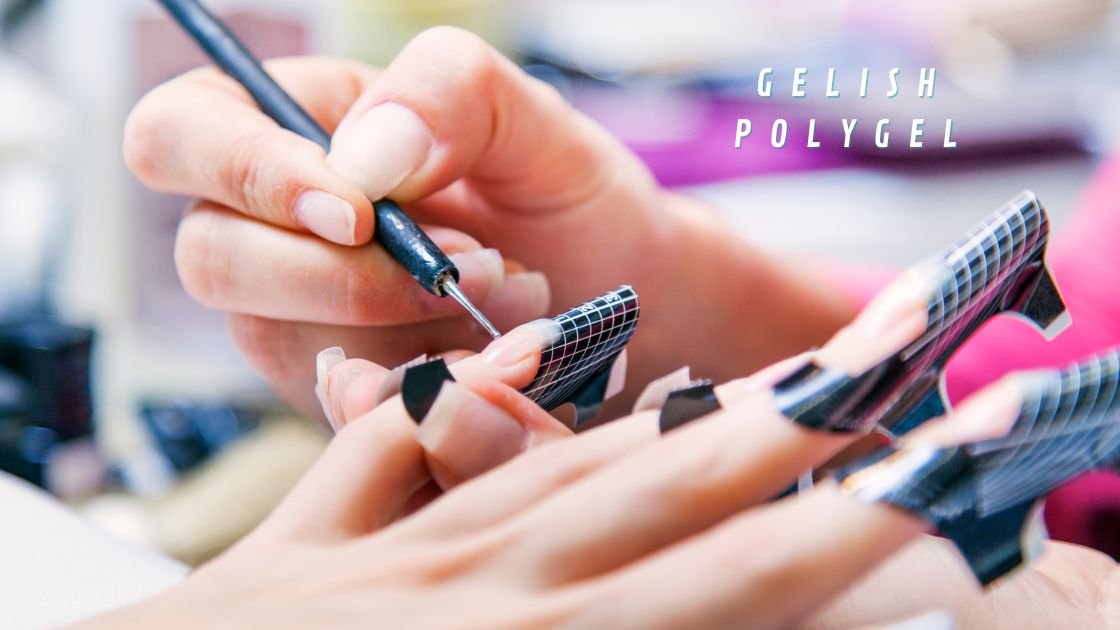
If you are up to date with the latest nail art trends, then you have already heard about gelish polygel and know that awesome nail art can be achieved when applying gelish polygel; it is great for those who make their nails an essential part of their overall looks. Learn all about it in this guide about gelish polygel.
Gelish polygel has become the defacto nail enhancer for women who regularly fix their nails at the salon and who often seek to have their nails styled in a unique and creative way. It is often described as a revolutionary and all-in-one formula because of its perfect working consistency.
Polygel is really salon technicians’ dream come true, and it offers the chance for ordinary nail enthusiasts to work at their own pace and obtain fantastic results. While working with gelish polygel may sound intimidating, it is actually astonishing how easy it is to apply. The best part is that it ensures smooth, flawless nails and even color.
It is safe to say that gelish polygel offers dream-length nails and if stylish nail trends attract you, it is a perfect match for you. As you can see, gelish polygel is very easy to use; you just have to make sure to have a clear idea of how to use it. Stick around as we tell you everything you need to know about gelish polygel.
Gelish Polygel Vs. Gel
Unlike hard gel, gelish polygel is not self-leveling but stays where you place it; unlike acrylic, it doesn’t harden until it’s cured in an LED or UV lamp.
Cure time is about 30 seconds in an LED lamp or two minutes in a UV lamp. PolyGel nails do not experience heat spikes during curing. There is no tacky layer after curing.
Gelish Polygel Vs. Acrylics
Polygel opens up the opportunity for great-looking nail enhancement minutes the odor and dust because it is monomer free and the filings are heavier, so they just fall to the table and don’t hang in the air.
Polygel is also very light, much lighter than acrylics, so you would hardly notice that you’re wearing it. This doesn’t mean that it’s not as strong; in fact, it’s stronger than hard gels and much more flexible than acrylics, and it’s not going to lift.
In a few words, gelish polygel takes the best qualities of both liquid and powder acrylics and LED hard gels in a new formula that’s so easy to use.
How To Use Gelish Polygel
Step 1 Prep the nail and apply a tip
Apply one coat of pH Bond to the natural nail only. Then, apply one coat of ProBond acid-free nail primer to the natural nail only.
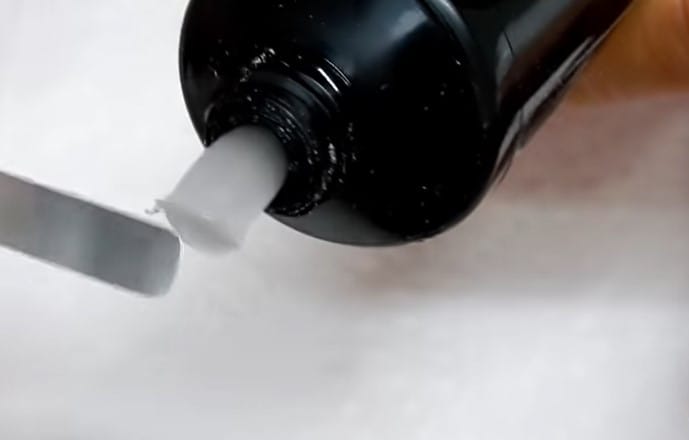
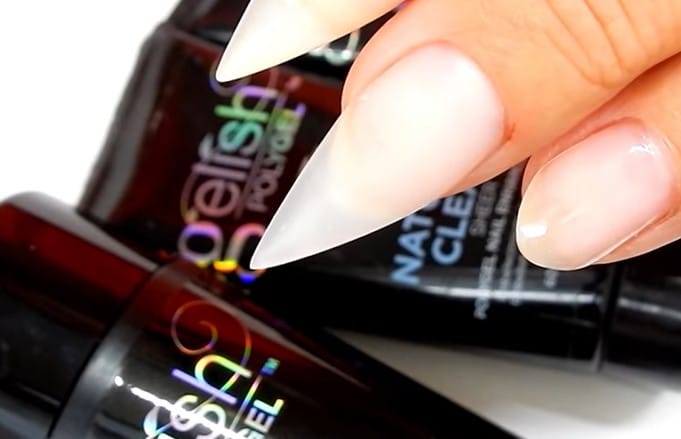
Step 2 Squeeze the tube of Natural Clear PolyGel
Release the product and slice off the desired amount with the flat edge of your tool.
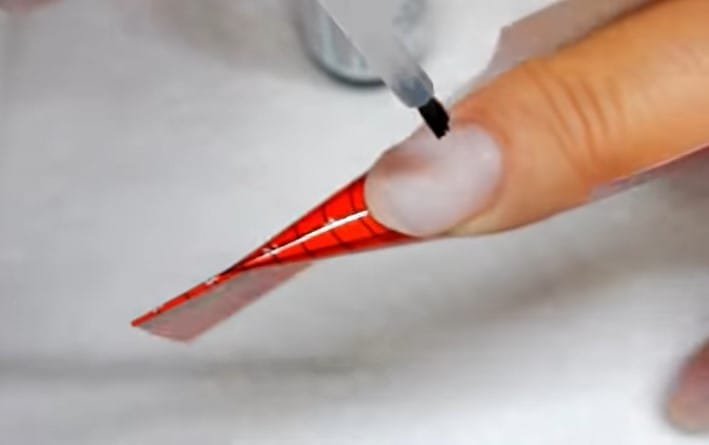
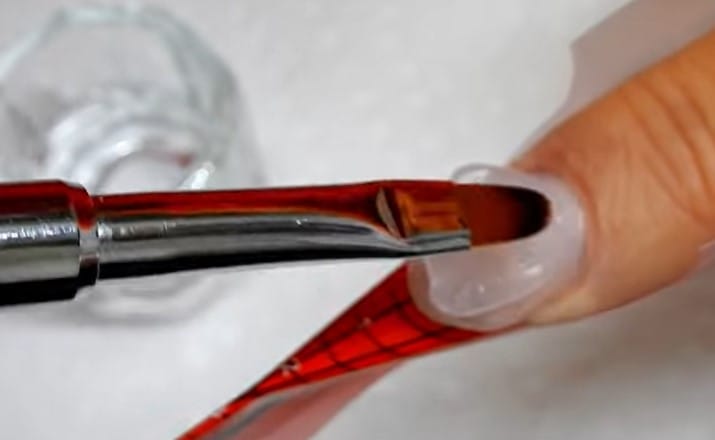
Step 3 Roll the product onto the nail
Switch to the brush side of the tool. Dip the brush into the Slip Solution, then shape the nail by lightly patting the PolyGel product.
Keep the brush close to the surface until the nail and tip are covered. Cure the nail for 30 seconds in an LED lamp.
Step 4 Smooth the surface
To smooth the surface, lightly file the nail with a 180-grit file. Finish shaping with a 180-grit buffer.
Step 5 Cleanse the nail
Apply one coat of gel base coat and cure for 5 seconds. Then, wipe a clean gel brush over the nail’s surface to remove any excess base coat.
This will cause the surface to become slightly tacky and allow the polish to adhere better. Apply two coats of gel polish, curing after each.
Products You Need
pH Bond
[amazon box=”B08G85PS4H” class=”lp-product-list” template=”vertical” image_size=”large” title=” ” price=” ” image_alt=”AIMEILI Nail Prep Bond Primer” description=”none” button_text=”Check Latest Price” ]
We recommend AIMEILI Nail Prep Bond Primer. Use before the nail base coat prepares the nail for strong adhesion. Absorbed fast; no UV/LED lamp required.
The bond primer prevents nail art from lifting or breaking. It can also be used with UV/LED gel nails, builder gel, acrylic powder, and dipping powder.
Ideal for salon and home use.
Gelish Polygel Kit
[amazon box=”B077PXJ41C” class=”lp-product-list” template=”vertical” image_size=”large” title=” ” price=” ” image_alt=” Gelish PolyGel Enhancement Master Kit ” description=”none” button_text=”Check Latest Price” ]
This Gelish PolyGel Enhancement Master Kit is the latest and greatest nail enhancement. Gelish PolyGel combines the qualities of acrylics and hard gels to give your nails a natural look that’s strong, flexible, and light as a feather with no unpleasant odors.
This kit also includes the Gelish 18G Gel Polish Curing Light. The Gelish 18G LED Professional Gel Polish Curing Light cures all five fingers simultaneously. LED accelerated technology provides the fastest curing times in the industry.
All you need to do is squeeze polygel, slice with the multi-purpose tool, and roll onto the nail. Then, using a brush and slip solution, shape the product into place; cure for 30 seconds in an 18G LED light.
Gelish Foundation Base Gel
[amazon box=”B07HNFDDBT” class=”lp-product-list” template=”vertical” image_size=”large” title=” ” price=” ” image_alt=”Gelish Foundation Base Gel” description=”none” button_text=”Check Latest Price” ]
You can use Gelish Foundation Base Gel. Better bond your gel polish to your nail with Foundation Base Gel.
This gel provides an adhesive base layer that helps your new color stick and stay on your nails without damaging the nail plate. Foundation Base Gel cures in just 5 seconds under the 18G LED Light.
Each application of Gelish gel polish requires just three quick steps for color and shine that last. A domed bristle brush allows for smoother application and better control than other brushes.
Clean-up Brush
[amazon box=”B072JJLJYJ” class=”lp-product-list” template=”vertical” image_size=”large” title=” ” price=” ” image_alt=”KADS 2pcs/set Kolinsky Sable Brush ” description=”none” button_text=”Check Latest Price” ]
The KADS 2pcs/set Kolinsky Sable Brush is everything you need. They are a two-way nail art pen; that is to say, they have a nail brush (one side) and a nail dotting pen (another side).
The high-quality brush hair is durable, delicate, and easy to apply. This Nail Art pen is a NEW and revolutionary nail design tool that allows a quick, easy and affordable way to create artistic designs on your nails.
Doing your nails has never been so easy! It’s simple and easy to use for all ages. It can be used as a cleaning brush, can clean up spilled nail polish, or adjust the wrong pattern.
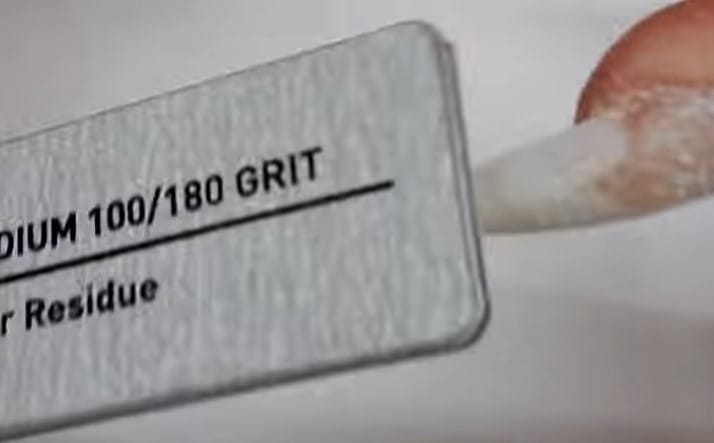
180-Grit File
[amazon box=”B00DQSJUBI” class=”lp-product-list” template=”vertical” image_size=”large” title=” ” price=” ” image_alt=”ForPro Mini Foam Board Files ” description=”none” button_text=”Check Latest Price” ]
The ForPro Mini Foam Board Files are made from the finest adhesive, foam, and sandpaper. Ideal for use on acrylic as well as natural nails. Each nail file is individually packed to ensure hygiene.
Files are washable and sanitizable. It can also be used to remove excess product leftover from gel polish and acrylic residue
Features a coarse 100 grit on one side and medium 180 grit on the other to quickly and easily file nails to the desired shape, giving edges a flawless finish.
180-Grit Buffer
[amazon box=”B01NCUX7Y5″ class=”lp-product-list” template=”vertical” image_size=”large” title=” ” price=” ” image_alt=”ForPro Buffing Block, Super White ” description=”none” button_text=”Check Latest Price” ]
ForPro Buffing Block, Super White provides superior buffing results and features flexible foam that will never yellow.
These nail block buffers are designed for buffing nails before applying nail lacquer or gel polish.
Each block buffer features abrasive material and four-sided 180/240 grit that will not scratch or damage natural nails during use. It allows you to easily buff and prep nails for the perfect manicure and pedicure.
LED Lamp
[amazon box=”B00MG2JHXQ” class=”lp-product-list” template=”vertical” image_size=”large” title=” ” price=” ” image_alt=”SensatioNail LED Nail Lamp for Gel Polish ” description=”none” button_text=”Check Latest Price” ]
SensatioNail LED Nail Lamp for Gel Polish is easy to use with an automatic sensor. Simply place your fingers under the lamp, and the light will automatically turn on. It will flash after 15 seconds and turn off automatically at 30 seconds, so no timer is needed.
The light source emitted by this gel nail lamp is perfectly safe on the hands and eyes. It will not darken your hands, so no sunblock is needed.
It cures top/basecoats in 15 seconds and color in 30 seconds. It’s also super portable, so you can bring the salon experience whenever you go.
How to use gelish polygel additional tips
- Push back the cuticle of every nail. And clean out the dead skin with the pointed end of the cuticle pusher.
- File the shine on the nail lightly. Remove all the dirt and bacteria using rubbing alcohol or dehydrator.
- Apply the base coat of the nail evenly and cure under a UV lamp for about 60 seconds.
- Take a bead size of the polygel out of the tube and put the polygel inside the nail form. Take a brush, dip it in the slip solution, and spread the inside nail form to ensure that it covers all the ends nicely.
- When placing the polygel-covered nail form on your nail, make sure to press it gently.
With the wet brush, remove the access of the gel that came out from the corners.
Common Question About Gelish Polygel
What exactly is polygel?
Polygel is an all-in-one formula for perfect working consistency. No monomer, no odors, no mixing, no ratios. The formula allows you to work as fast or as long as you want.
Tube dispensing allows you to use just what you need for no wasted product. Patent-pending TriPolymer formulation combines acrylic powder for strength in a gel base with photo initiators providing workability and no odor.
How long does gelish polygel last?
If applied properly, gelish polygel will typically last for 21 days before needing maintenance. It’s a completely buff-off system. It should be filled to 10% to leave a protective layer on the nail.
Does gelish polygel soak off?
PolyGel is not a soak-off gel, so the best way to remove it is by filing it off. Because it is a soft gel, it is very easy to file off using an e-file or by hand, but when removing, it is unnecessary to file off the entire product.
Is polygel better than gel nails?
When applied correctly, polygel is actually sturdier than hard gels. Experts describe polygel nails as strong, flexible, and feather-light, which means they’re durable but still feel like natural nails.
Is it hard to use gelish polygel?
Polygel has the consistency of putty, so it’s extremely mouldable, and the products are pre-mixed, so there are no liquid-to-powder ratios to worry about. You can literally grab a tube, and you’re ready to start work.
Do you need to use a slip solution with gelish polygel?
- If you touch the surface of Polygel you’ll find that it’s sticky and it will string up, so it needs to be used with the Slip Solution.
- This makes the surface slippery, so when you press a brush on it, polygel stays put but allows you to manipulate it easily into the desired shape.
- It will not move or set, you can literally put your Polygel on the nail, and it won’t change until you cure it. You can work in your own time.
Can Polygel ruin your nails?
Polygel is not inherently bad for your nails. Polygel should pose no harm to nails as long as it is removed properly. Still, it’s good to take a break from Polygel, or any polish or nail enhancement, for that matter, from time to time.
Does gelish polygel need a base coat?
Base coat seals the oil from the nails so the gel polish or polygel can adhere to it entirely. It fills all the ridges, provides a smooth surface for the nail polish to spread evenly, and helps the gel polish or gelish polygel stick better.
How long will it take to apply a set of gelish polygel nails?
Experienced technicians say a one-color application can take between 45 mins – 1 hour and 15 mins to complete. Typically a set of pink and whites can take 2 hours from start to finish.
How many sets of nails can typically be done with one tube of gelish polygel?
The average is 30 sets and 40 with practice. It depends on the application you are providing, though, and the color you are using. For instance, Bright White is only used at the tips, so between 60-70 sets are possible.
How to remove gelish polygel?
- Using a 150 or 180 grit file, file off most of the product and reduce the length if needed.
- Switch to a 100/180 buffer. Gently buff down the enhancement to leave a thin application on the nail.
- Using a 220/280 buffer, lightly buff the nail and blend the remaining enhancement into the natural nail.