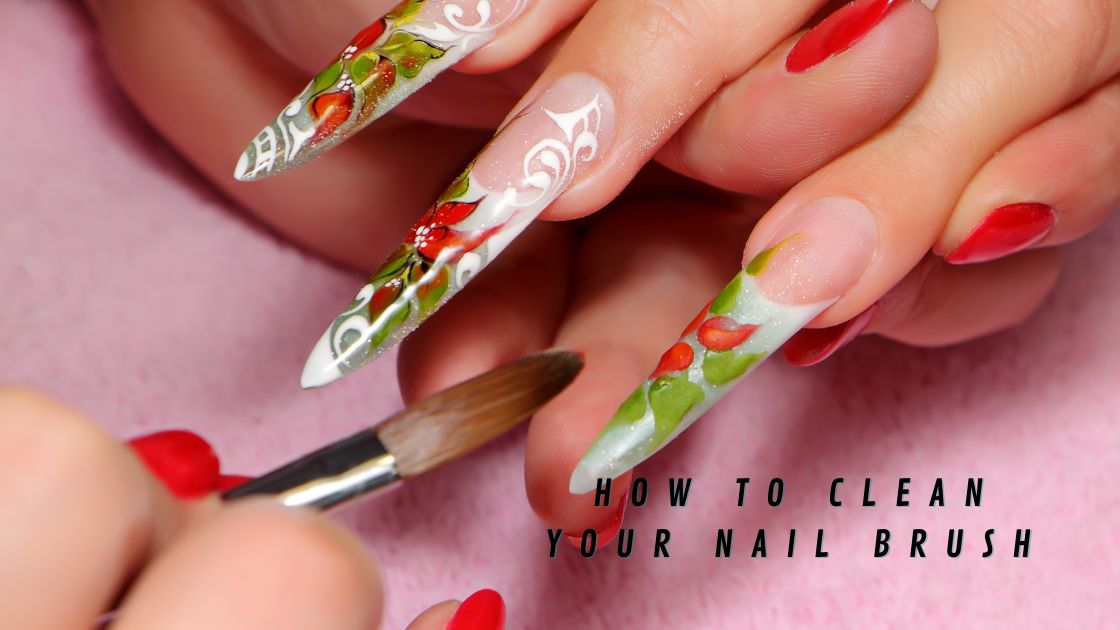
You need the best tools to ensure a quality nail look when you are into stunning nails and doing your manicures at home. We are talking about gel nail polishes, UV lamps, polygel kits, brushes, etc. However, getting your tools is only one part of the job; you also need to take care of them. That’s why today we’ll tell you all about how to clean your nail brush the right way.
If you have experience with nail design and enhancement, you know by knowing that the key to good acrylic manicures is clean, good-quality brushes. This is why it becomes critical to know how to clean your nail brush, especially if you, like most beginners, cannot invest in several different brushes and need to work with the same one repeatedly.
If your brush isn’t properly cleaned after each use, it might become hard, thus compromising your nail results and, therefore, may not work as you need it to. As you can see, if you want to prolong the longevity of your brushes, knowing about the cleaning process is essential.
It is also recommended that you keep different brushes for use with different materials; for example, you may need to use separate brushes for clear, color, and glitter materials. Either way, you will need to clean them properly if you want to keep them for a long time and to provide a quality nail job. Continue reading and learn all about how to clean your nail brush, tips, and more.
Nail Brush Types
- 3D Brush: The 3D brush, more specifically the acrylic brush (no. 02), is the most versatile and common nail art brush. It is used for creating intricate designs. It also helps in creating different strokes and patterns. These brushes also help make 3D nail art using acrylic powder and monomer.
- Striper/Liner Brush: This nail brush helps create long lines, striping stroke patterns, and plaid art, and you can also use them to make animal patterns such as zebra or tiger prints.
- Flat/Gel Brush: This brush is also known as a shader brush. These brushes help in creating one-stroke patterns, blending, and shading. They are also helpful in doing gel nails.
- Angled Brush: This brush basically helps in one-stroke nail art flowers on the nail. It is very easy to double-load the two colors while using it because of its angled bristles.
- Fan Brush: A fan brush has many functions. It helps in shading, creating swirls, and sprinkling glitter. You can create beautiful stroke effects, and it is used to brush off excess flocking powder or glitter.
- Detailing Brush: As the name suggests, this brush is used to add details to your nail design and has a very good precision effect.
- Dotter: It has a very small head tip which helps in creating many small dotted effects on the nails.
Acrylic Nail Brushes Vs Gel Nail Brushes
Acrylic nail brushes are often made from natural hair. If you have invested in natural hair acrylic nail brushes, you shouldn’t use acetone to clean them. Acetone is too harsh for them and will dehydrate the strands.
As a result, you might find the bristles become too fanned out and that they don’t grip your acrylic beads as well as they are used to.
Unlike brushes for acrylic nails, gel nail brushes are often made from synthetic fibers. This means they are more durable than acrylic brushes, so they don’t need quite as much special care.
For the most part, a thorough wipe with a lint-free cloth after use should keep your gel brushes clean and in good condition.
They can withstand a cleanse with alcohol, but try not to do it too often, as it can still dry out the bristles. They rarely need a soak; just a quick dip and wipe should do the job.
How To Clean Your Nail Brush Steps
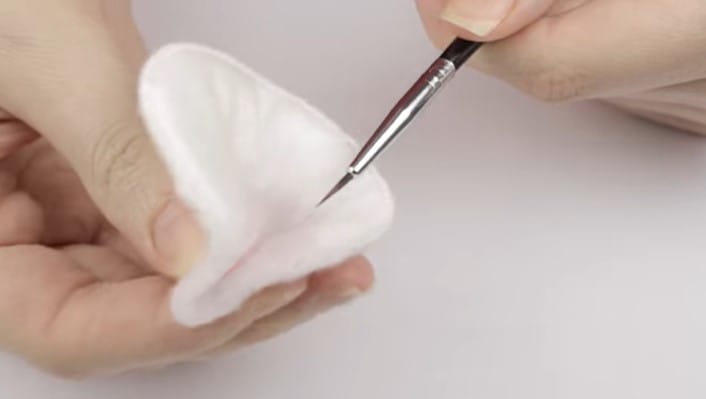
Step 1 Wipe your brushes down
Proceed to wipe your brushes down using a lint-free cloth to avoid getting random fibers on the bristles, so you don’t have issues next time you use your brushes.
[amazon box=”B078YXH6HR” class=”lp-product-list” template=”vertical” image_size=”large” title=” ” price=” ” image_alt=”Evriholder Bamboo Naturals” description=”none” button_text=”Check Latest Price” ]
We recommend Evriholder Bamboo Naturals; these microfiber cleaning cloths are designed to effectively clean all surfaces. These are easy to clean and reuse time and time again, so you can stop wasting money on buying paper towels.
They are made of polyester and are amazing as dish cloths, for dusting, and great for cleaning windows, kitchenware, and other delicate surfaces.
Microfiber cloths are ultra-soft and non-abrasive for streak-free cleaning and dusting. These clothes can even be used to clean stainless steel appliances.
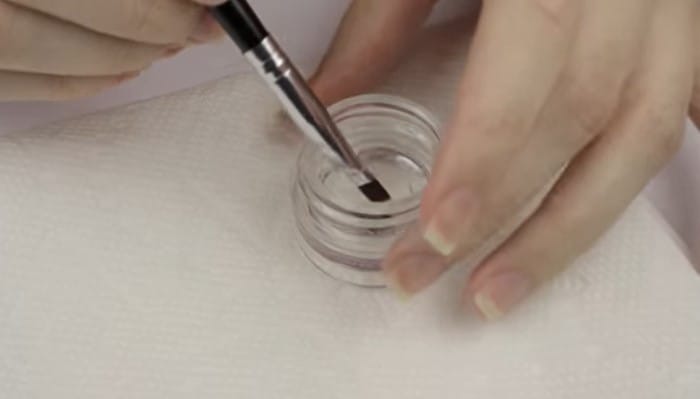
Step 2 Soak your brushes in a dish of monomer
The monomer is gentler on brushes than acetone nail remover, which should be the last resort.
This part of the cleaning process might take an hour or two, or you can soak your acrylic brushes overnight, depending on how much gunk has clung to the bristles.
[amazon box=”B00V1W8G9I” class=”lp-product-list” template=”vertical” image_size=”large” title=” ” price=” ” image_alt=”Mia Secret Liquid Monomer” description=”none” button_text=”Check Latest Price” ]
Try using Mia Secret Liquid Monomer; the advanced blended EMA (Ethyl Methacrylate) makes it safe for cosmetic use.
Liquid monomer by Mia Secret provides excellent flexibility, which makes it easy to sculpt beautiful acrylic nails, and Its advanced non-yellowing formula prevents discoloration.
This monomer performs properly even under low temperatures, making it reliable all year long, while its low essence makes it suitable for indoor use. Liquid monomer is included in Mia Secret’s Professional Acrylic Nail Set.
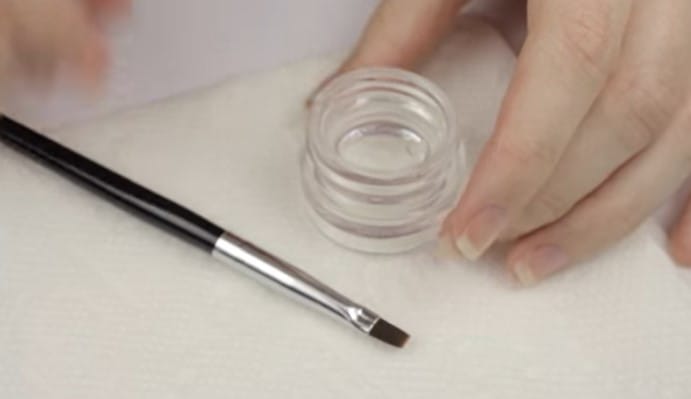
Step 3 Rinse
Rise your brushes with warm water and lay flat to dry
Step 4 Soak the brushes in fresh monomer
Once your acrylic nail brush is dry, put some new liquid monomer into your dish and soak your brush for another hour or two.
[amazon box=”B00KRW7OKK” class=”lp-product-list” template=”vertical” image_size=”large” title=” ” price=” ” image_alt=”Kingzak Transparent Plastic Bowls” description=”none” button_text=”Check Latest Price” ]
For this step, try using Kingzak Transparent Plastic Bowls, made from high-end materials and sturdy partyware. Wash thoroughly and reuse.
These bowls are suitable for any occasion, for birthdays, reunions, weddings, and everyday use. Designed for all occasions, banquets, parties, upscale catering, and homes.

step 5 Air dry
Remove your brush from the liquid, and once again, leave the brush to air dry on the towel. Do not rinse the brush off this time around.
[amazon box=”B009FUF6DM” class=”lp-product-list” template=”vertical” image_size=”large” title=” ” price=” ” image_alt=” Amazon Basics Microfiber Cleaning Cloths” description=”none” button_text=”Check Latest Price” ]
We recommend using Amazon Basics Microfiber Cleaning Cloths. The ultra-soft, non-abrasive microfiber cleaning cloths will not scratch paints, vinyl, glass, finishes, or other surfaces.
The handy microfiber material can absorb eight times its weight in liquid, dries quickly, and doesn’t require any chemicals to clean. Use wet or dry.
The microfiber cleaning cloth sets are machine washable and can be reused hundreds of times without losing absorbency.
How To Clean Your Nail Brush Additional Tips
- The best nail brushes come with care instructions. These instructions should tell you exactly how to keep your brush clean and what is considered the best cleaning solution for that particular type of brush.
- You should do your best to avoid caked-on products, and the best way to do this is by cleaning your brushes before, during, and after use.
- If you’re starting off with a low-quality brush, then you can expect frayed, dried-out bristles sooner rather than later. Make sure to invest in quality brushes if you want them to last.
- Clean your brushes during and immediately after use and before storing them again to prevent the product from building up in the bristles.
- Ensure that all the liquids are removed from the metal ferrule after use to prevent discoloration.
- When you clean your nail brush after use, it is important to clean it in the liquid medium that you use with that brush, e.g., acrylic brush in monomer, gel brush in clear gel or cleanser, and so on.
- When cleaning your brush, always take your time and be delicate and do not put force or splay out the bristles vertically. To prevent fraying or dishevelling the brush, reshape the bristles after cleaning them, wearing gloves to protect from product contact.
- You should not clean your brushes in acetone as this can dry the brush out. However, in extreme cases where monomer won’t remove the acrylic because the acrylic has hardened, brush cleaners or acetone must be used.
Common Questions About Nail Brush Cleaning
Why is it important to know how to clean your nail brush?
Knowing how to clean your nail brush is essential since it may go hard if acrylic is left to dry on it. Gel brushes should be cleaned in clear gel, and gel brushes you use for color and glitter materials should be cleaned with brush cleaner or cleanser on a lint-free wipe.
Gently wipe the hairs until clear to make sure this is thoroughly removed.
How do you clean brushes after gel nails?
The best way to clean a gel brush is to gently wipe the bristles between a folded piece of paper towel; just make sure to use one that doesn’t leave lint.
If the handle is sticky, you can wipe it with 99% alcohol, but using alcohol on the bristles will dry them out and harden them.
Why is my gel brush hard?
If it is exposed to UV light, the bristles will harden and be super hard to unstick. Make sure you keep your gel brush away from any UV lights as you work on your nails. It may also get hard if acrylic is left to dry on it.
How do you keep brushes from getting hard?
Thoroughly wipe your brushes with clean paper towels using the monomer liquid after every use to keep them from becoming hard.
Ensure you do not dip your brush directly in monomer without wiping the acrylic leftover from the brush, as it can result in the acrylic drying up on your brush and hardening the bristles.
Can you replace a nail polish brush?
To replace the brush only, open the polish bottle and wipe excess polish from the brush. With a paper towel, firmly grasp the brush in one hand and cap in the other, then pull until the brush releases from the cap.
Insert a new brush in the polish bottle, place a cap on the brush and bottle, twisting the cap completely closed.
Which brushes are best for acrylic nails?
Acrylic brushes are the best for acrylic nails as their pointed tip allows precise application and good control for a smooth finish.
Is it ok to use acetone to clean acrylic nail brushes?
When it comes to acetone, in particular, it can clean your acrylic brush, but it can also damage your brush. Because of this, acetone should always be considered a last resort and only after you’ve tried cleaning it with monomer.
Synthetic nail brushes can withstand acetone more than natural hair brushes. However, they can still become dried out over time, so it’s best to stick to monomer when possible.
What’s the right way to store nail brushes?
After learning how to clean your nail brush, these should be stored with the bristles facing downwards to prevent any liquids from running back into the ferrule and causing damage, such as breaking the adhesive which holds the bristles in place.
The safest and cleanest place to store these is in a brush case, stored downwards, which prevents fluff or dust from contaminating your brushes or other tools, knocking and damaging the bristles.