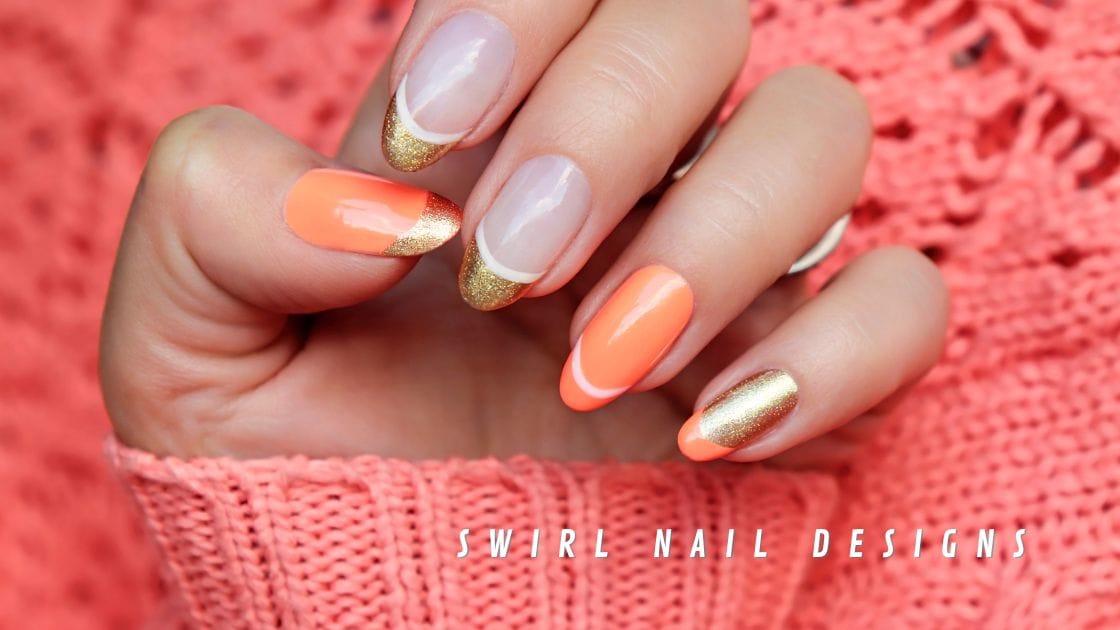
If you appreciate everything vintage and have always dreamed of living in the 60s and 70s, then the swirl nail designs perfectly match you. If you still haven’t joined the wagon, we are here to tell you this trend is not going anywhere, so what are you waiting for?
Unlike the delicate nature of your regular manicure, with swirl nail designs, you can count on rich, contrasting colors and defined lines instead of soft, blended variations in hue. This means with the right combinations; swirl nail designs are a great way to express your true personality and just have fun with it.
Contrary to what many may think, swirl nail art designs cannot only be used for special occasions, but you also do not need to be a celebrity to rock nail swirl designs. Depending on your schedule, you can choose between pink swirl nail designs, simple swirl nail designs for a wedding, or something more formal.
Swirl nail designs may seem complicated at a first glance; however, with the right tools and following the right steps, you can totally pull them off in the comfort of your home. So, if you are ready to take your nail game to the next level, stick around as we tell you just how to do swirl nail designs and more useful tips.
Swirl Nail Designs Explained
Swirl nail designs, also called, Psychedelic swirls, are the latest style to take over the world of nail art.
The technique involves adding single drops of colored ink to clean water, then laying a blank piece of paper or fabric over the ink where the movement of the water helps to create the organic effect on your material once it is lifted back out.
Swirl Nail Designs Inspo/Ideas
Candy cane swirls
- Choose three to four colors you’d like to use; experts recommend including white as it makes the rest pop.
- Start with a nail-toned base and then either the darkest or the lightest color for the first lines.
- Using a fine liner brush, paint the swirls on, keeping in mind that it’s an abstract design, so it doesn’t need to be perfect. Once that’s set, seal it with a glossy topcoat.
Toxic swirls
- The contrast of neon against the black and white makes these nails glow. Use the lightest color as the base, which would be white.
- Then, take a medium-length brush and apply some chunky waves in your chosen color of yellow and green.
- Finally, outline the swirls in black, ensuring the edges are neat.
How to do Swirl Nail Designs Steps
Step 1 Prep your nails
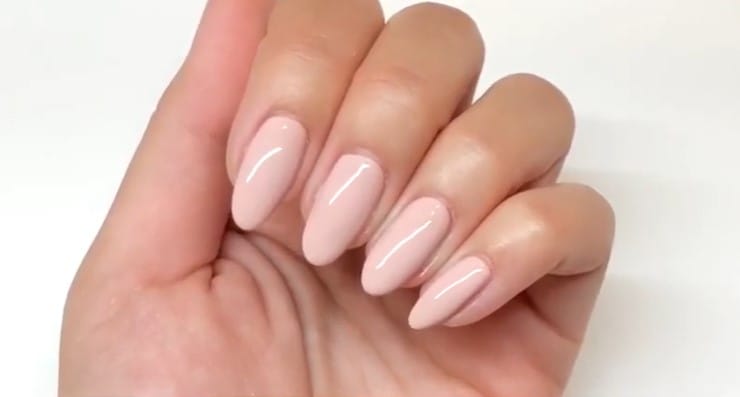
First, prep your nails with a base coat. Once your nails are ready to paint, apply two thin coats of a base color polish, a neutral is best here and allow them to completely dry.
No products found.
We recommend Revlon ColorStay Gel Envy, which is formulated with shea butter and oils to condition strong nails.
It delivers high-impact, salon-quality color for up to 7 days and is an outrageous shine and rich, long-lasting color that won’t fade in one at-home formula.
Revlon’s revolutionary 2-step ColorStay Gel Envy Longwear Nail Enamel system brings salon-quality gel home without harmful UV lights. The ColorStay Gel Envy is a 2-in-1 nail polish that combines base and color in one smooth application.
Now you can get the perfect manicure at home with our Gel Envy Nail Enamel and Diamond Top Coat for vivid color and brilliant gel-like shine. This nail polish has a built-in base coat, so you can lose a step from your manicure.
Step 2 Prep your swirl
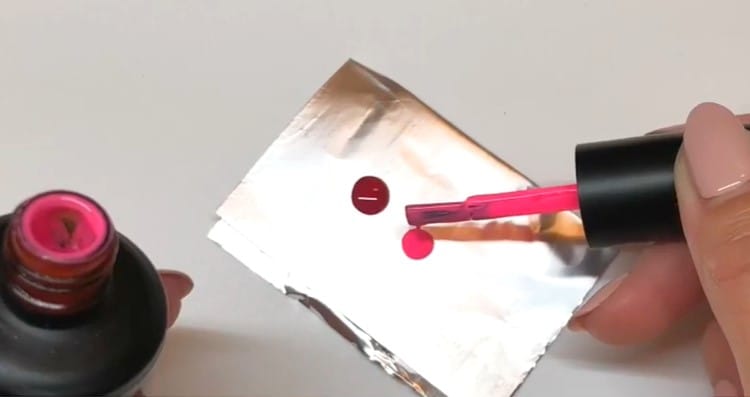
Once your nails are dry, take a cup of room temperature water and place one drop of nail polish in the water, then quickly drop a different color directly in the center of the first dot, and so on for the rest of your colors.
No products found.
For a sweet look, go for pastel tones like Essie Nail Polish, and Glossy Shine Finish. The nail polish offers a high, glossy shine finish; provides flawless coverage, and outstanding durability.
Essie nail enamels come in an extensive palette of shades from iconic classics like ballet slippers to trendsetting nail polish colors straight from the runway; nudes, blues, purples, black, white, rose gold, and more.
Essie’s salon-quality nail supplies are all you need for a stylish manicure or pedicure treatment at home, from base coat to top coat, and colors in shades ranging from classics to so-hot-right-now.
No products found.
Your second color could be Wet n Wild Light Pink Cotton Candy. Wet n wild products are never tested on animals and are always cruelty-free.
This polish provides rich color in just a single coat that dries in as little as 40 seconds and lasts up to 5 days. That means fast drying without chipping, so you can get on with your life without worrying about a smeared, ruined manicure.
These polishes leave a brilliant shine finish with just one single coat. Not only does this nail color dry super quickly, but it also has some serious staying power. Enjoy salon-perfect nails with less fading and chipping for up to 5 days.
Step 3 Create your swirl
Now the fun starts. With a toothpick, draw a swirl through the polish in the water to create the design that will end up on your nails.
Step 4 Dip your finger
Once you’ve achieved your swirl, gently dip a finger straight through the center of the swirl until the entire nail has been submerged in water.
Wait a few moments for the polish on the water’s surface to dry, and then gently remove your finger and repeat on the remaining nails.
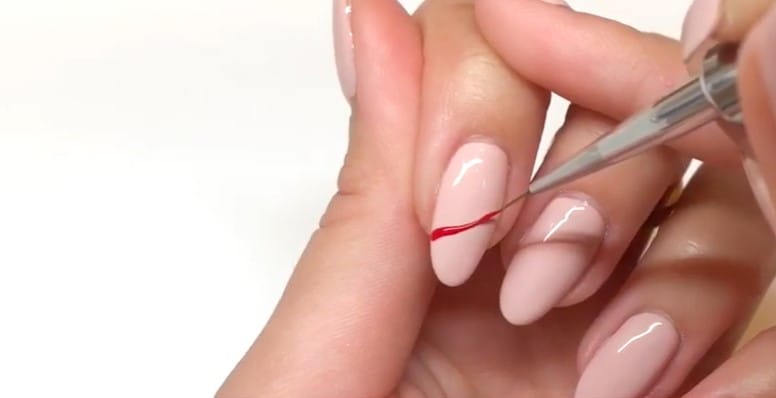
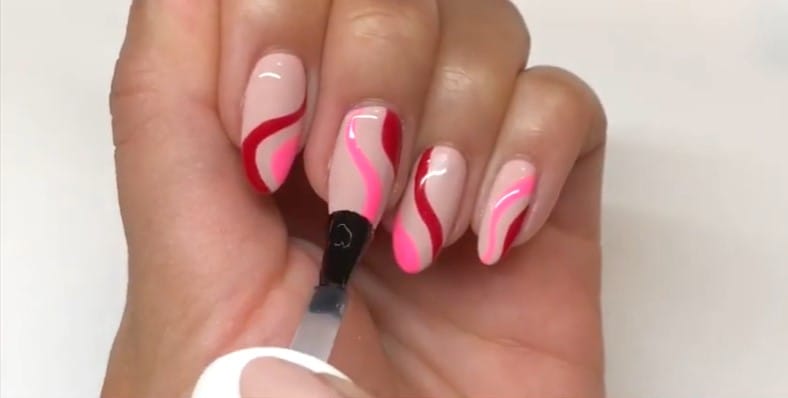
Alternatively, you can use a thin striping brush to paint on the swirls in long, curved strokes.
No products found.
These Winstonia Striping Nail Art Brushes are just the thing you need. These are perfect for gingham, stripes, tartan, plaids, and any nail art design that requires heavy horizontal, vertical and diagonal line creation.
A professional team has hand-trimmed, weighed, and shaped each brush. This ensures the sturdiest and most amazing nail brush performance.
Also a perfect tool for swirling and blending effects, filling in colors, and drawing small details, thanks to its pointy tips. This nail art brush set can also be used for rock painting, fine art painting, and 3D model painting.
Step 5 Clean up
Once your nails start to dry, use a clean-up nail brush dipped into nail polish remover to clean up the polish on the cuticles and sides of the nail, and take a cotton swab to the rest of the skin.
No products found.
Try Cutex Ultra-Powerful Nail Polish Remover for Gel. Cutex nail polish remover removes tough polishes, including glitters, gels, and dark colors, while nourishing the nail.
This acetone nail polish remover is formulated as a cucumber fragrance that creates a light, fresh scent. The spa formula contains 98% acetone for fast and easy at-home manicure and pedicure removal.
The polish remover is infused with a patented oil blend that includes Apricot Kernel oil. A cucumber fragrance creates a relaxing, spa-like experience.
Swirl Nail Art Designs Additional Tips
- When doing swirl nail art designs at home, you want to clean your hands of any dirt, dust, or residue so that you’re starting off with a clean canvas.
- Make sure to have an inspirational photo ready to reference while you’re working.
- When choosing nail polish colors, experts recommend choosing three or more shades, including complementary or monochromatic shades and neutral; this way, the swirls will stand out a lot more.
- You’ll want to use a thin striping brush to paint on the swirls in long, curved strokes. If you make a mistake using your light shade, you can go over it and cover it up with a darker color.
- To lock in your swirls, apply two layers of top coat for a shiny, gel-like finish. Keep handy a tiny bristle brush on hand to dip into acetone to clean up any mess-ups around the cuticle area.
Common Question About Nail Swirl Designs
What’s good about swirl nail designs?
- This nail-art design comes in various patterns and colors, with neutral hues, like brown swirl nails, being a popular choice for fall, and bright color schemes, like pink and blue swirl nails, screaming summer.
- Swirl nails can also be paired with other nail-art trends for a true one-of-a-kind look, something many celebrities and their manicurists have been doing.
- The beauty of swirl manicures is you can get the look on long or short nails, with extensions, or on your natural nails; the possibilities are endless.
What are the different nail art designs?
There are endless kinds of nail art designs, and you’re only limited by your imagination.
Try things like branded, tie-dye, hearts, lines, abstract, eyes, minimalist, cute, pastel, bold, floral, contrasting, or metallic designs, and swirl nail designs in 2022.
How do you design nail art?
There are a few tools you need to create perfect nail art. The basics include nail tape, different sizes and shaped detail brushes, dotting pens, nail glue, jewels, and stickers. Of course, you’ll also need your chosen nail polish shades as well.
Then, start by applying a base coat and a couple of layers of your base color, letting each dry completely. Next, it’s time to get creative. Use your tools to create any kind of design you like.
What is the popular nail color for 2022?
The popular nail colors for 2022 are deep reds, shades of brown, blueish-grey, muted greens, nude, navy, and metallic finishes.
Can swirl nail designs be done at home?
Despite looking a little complicated, psychedelic nails are one design that can be replicated at home, as long as you have: four nail polish colors, room temperature water, a toothpick, and nail polish remover.
Can you swirl nail polish with a toothpick?
- You can make some amazing designs with a technique called drag marbling. First, apply a thick coat of base color to your nail.
- While it’s still wet, dab a bit of a contrasting color on your nail using a toothpick. Then, working quickly, drag designs through the wet polish.
Can you use cold water to create swirl nail designs?
Always remember, when making swirl nail designs: that the best-looking swirls can only be achieved in room temperature water. Water that is cold will cause the polish to dry too fast, leaving a less-than-impressive marble finish.
What are the 5 basic nail designs?
The five basic nail shapes are square, oval, round, almond, and stiletto.
What should you use when cleaning your finger after swirling nail designs?
If you’re looking for easier clean-up, liquid latex around the nail will create a barrier and help prevent the polish from sticking to the skin. Once each nail is completely dry, apply your top coat, and voilà, psychedelic marble nails are complete.

